

Web Push: Firebase Credentials
Directions on how to generate a Firebase Cloud Messaging API Credentials for sending Web Push Notifications
After completing this step:
- Firebase Cloud Messaging API credentials for sending Web Push Notifications have been generated.
- Private key and Config have been uploaded to Maestra and configuration of site push notifications settings has been updated.
1. Create A Firebase Project
To create a new project or access an existing one, please use this link.
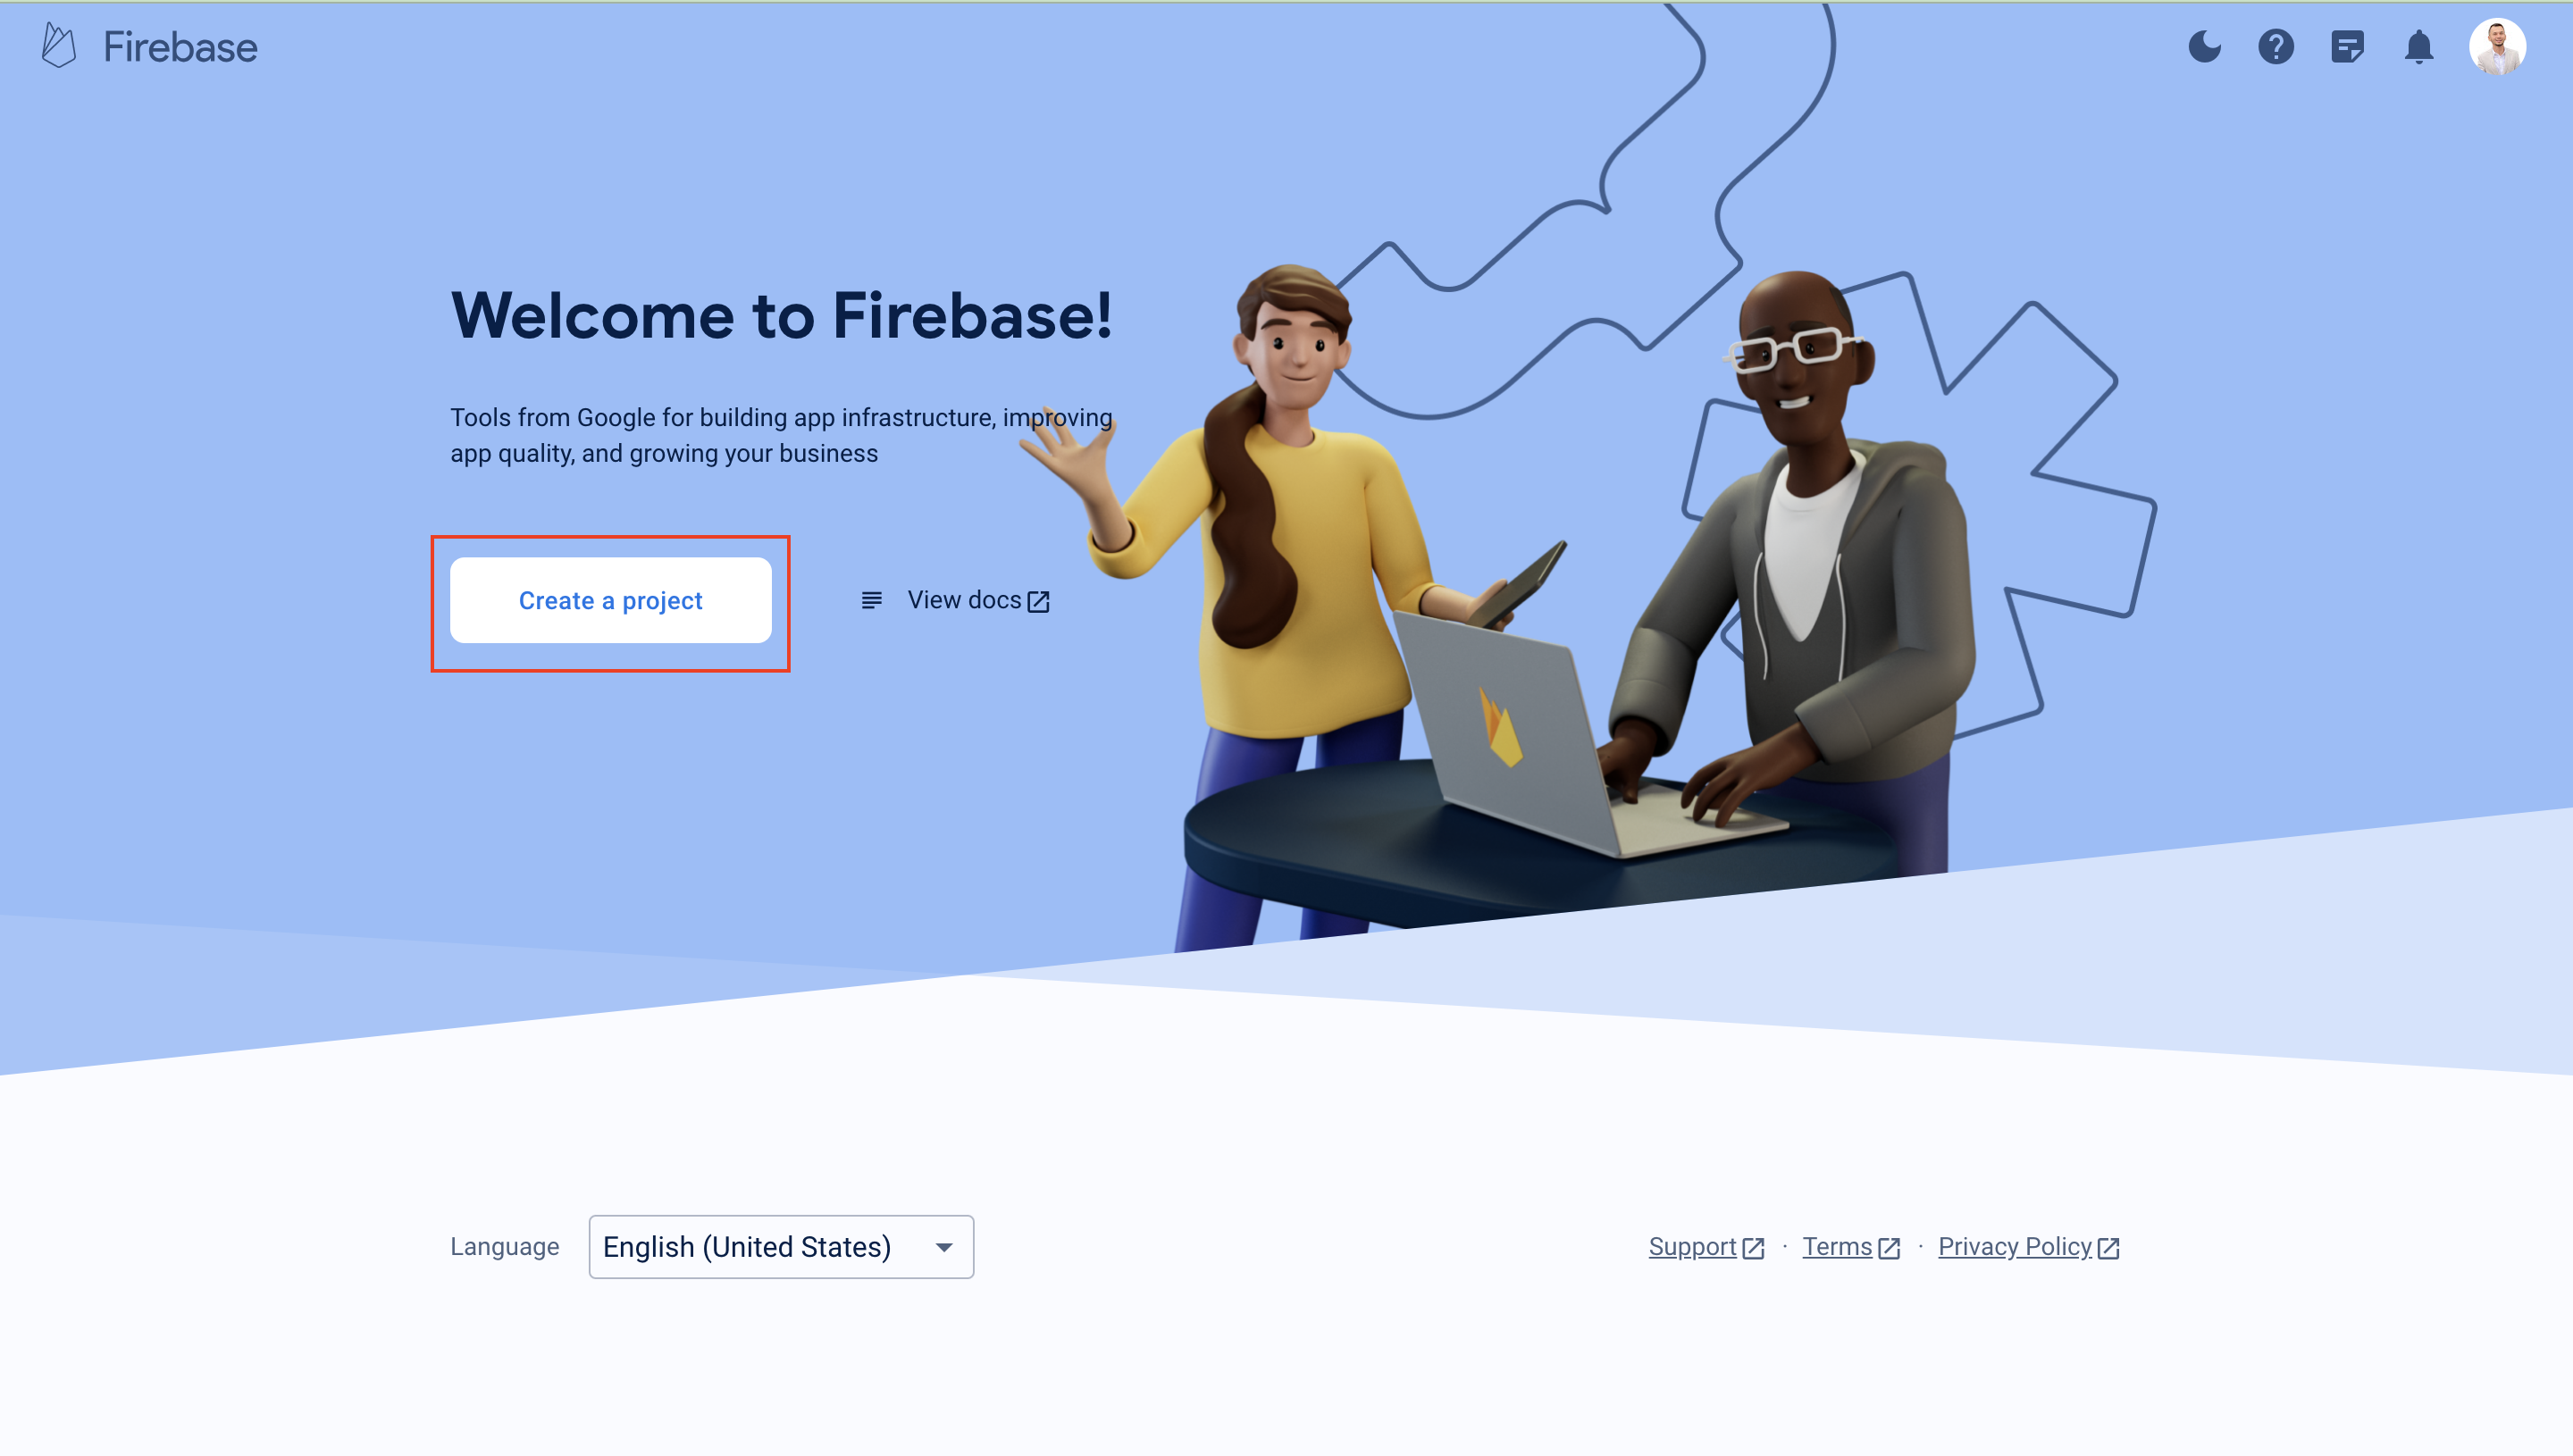
Push Notifications require a Firebase Project. If you don't have one set up yet, click "Create a project" and follow the directions to set up your project.
If you already have a FCM project, skip to Step 2.
2. Generate a Private Key JSON file
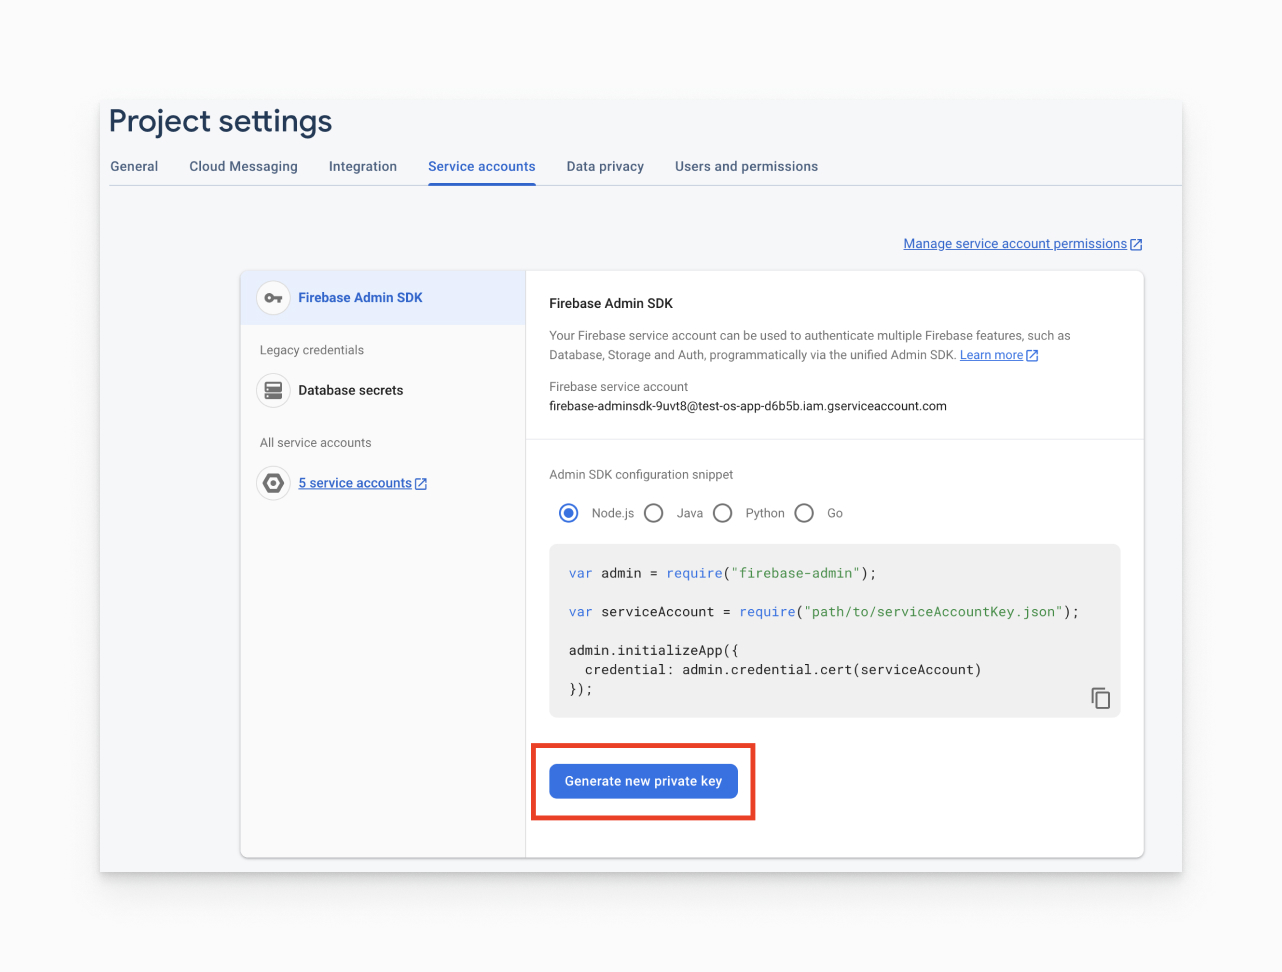
In Project settings, go to the Service accounts tab. You can use this link for a quick access.
Click Generate new private key at the bottom of the page.
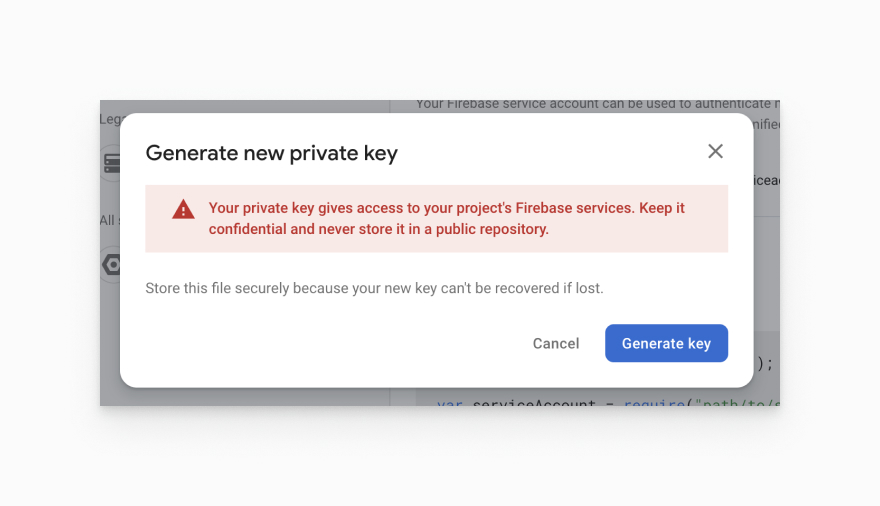
You'll then see a warning window. Click Generate key.
Save the JSON file somewhere secure. You will need to access it shortly to upload to Maestra.
3. Create an app in Firebase
Firebase credentials should be from the same projectThe app needs to be created in the same project where the Private key was generated.
If the app is already created, proceed to the next step.
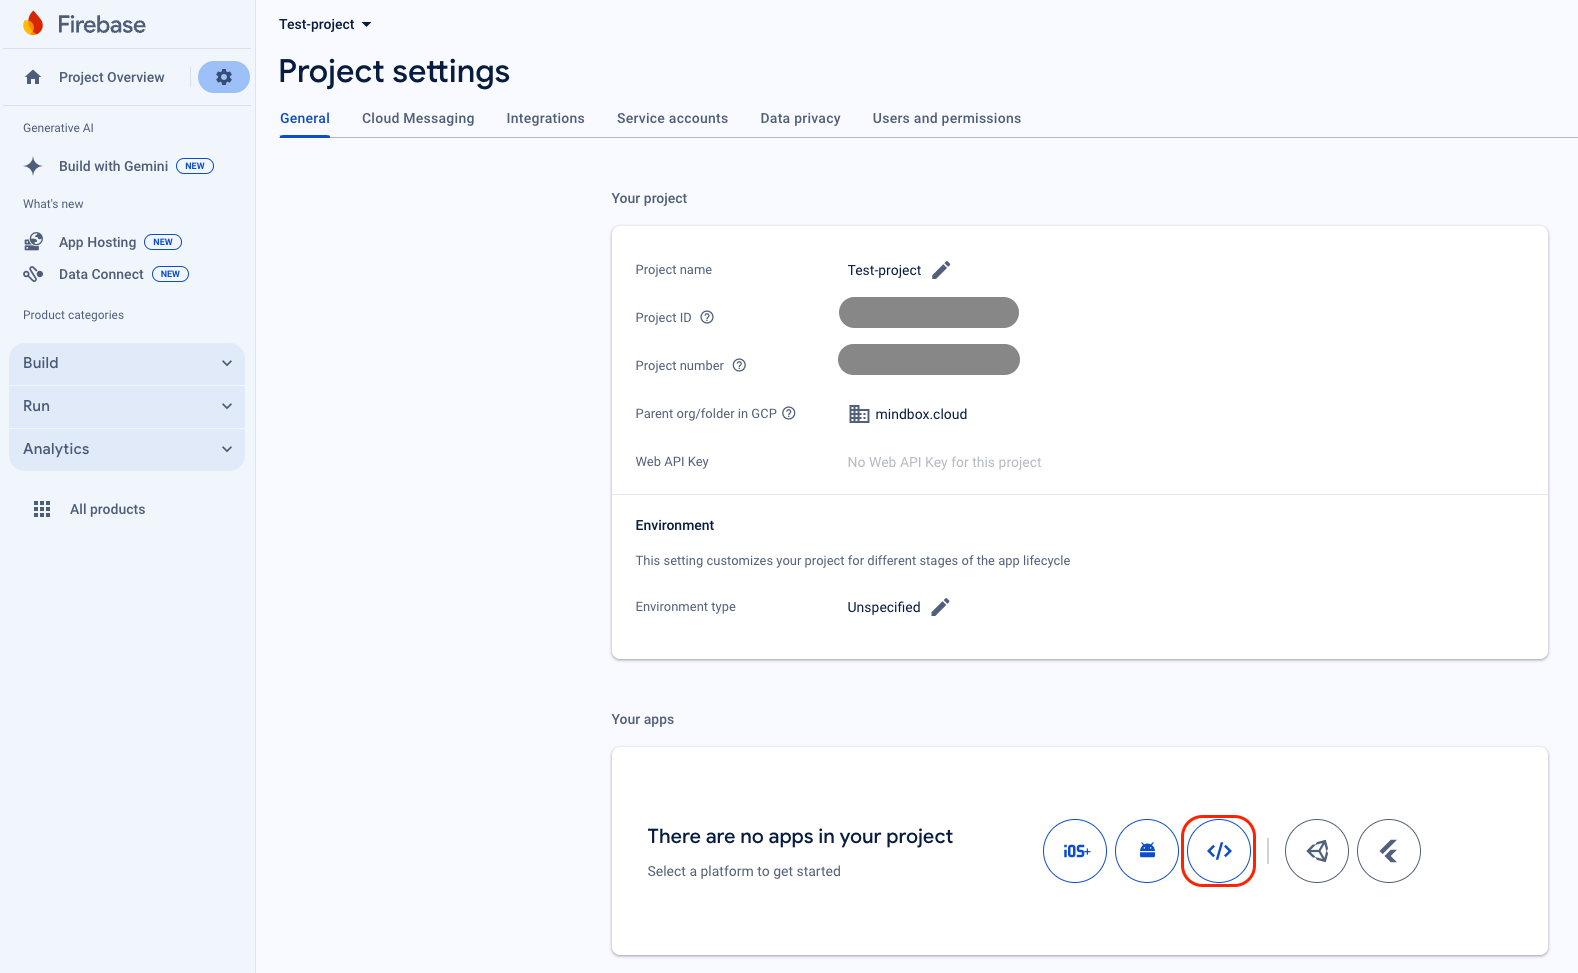
In the Project settings, go to the General tab.
Create an app for the Web platform:"
Next, follow the Firebase instructions.
4. Copy the configuration of the created app
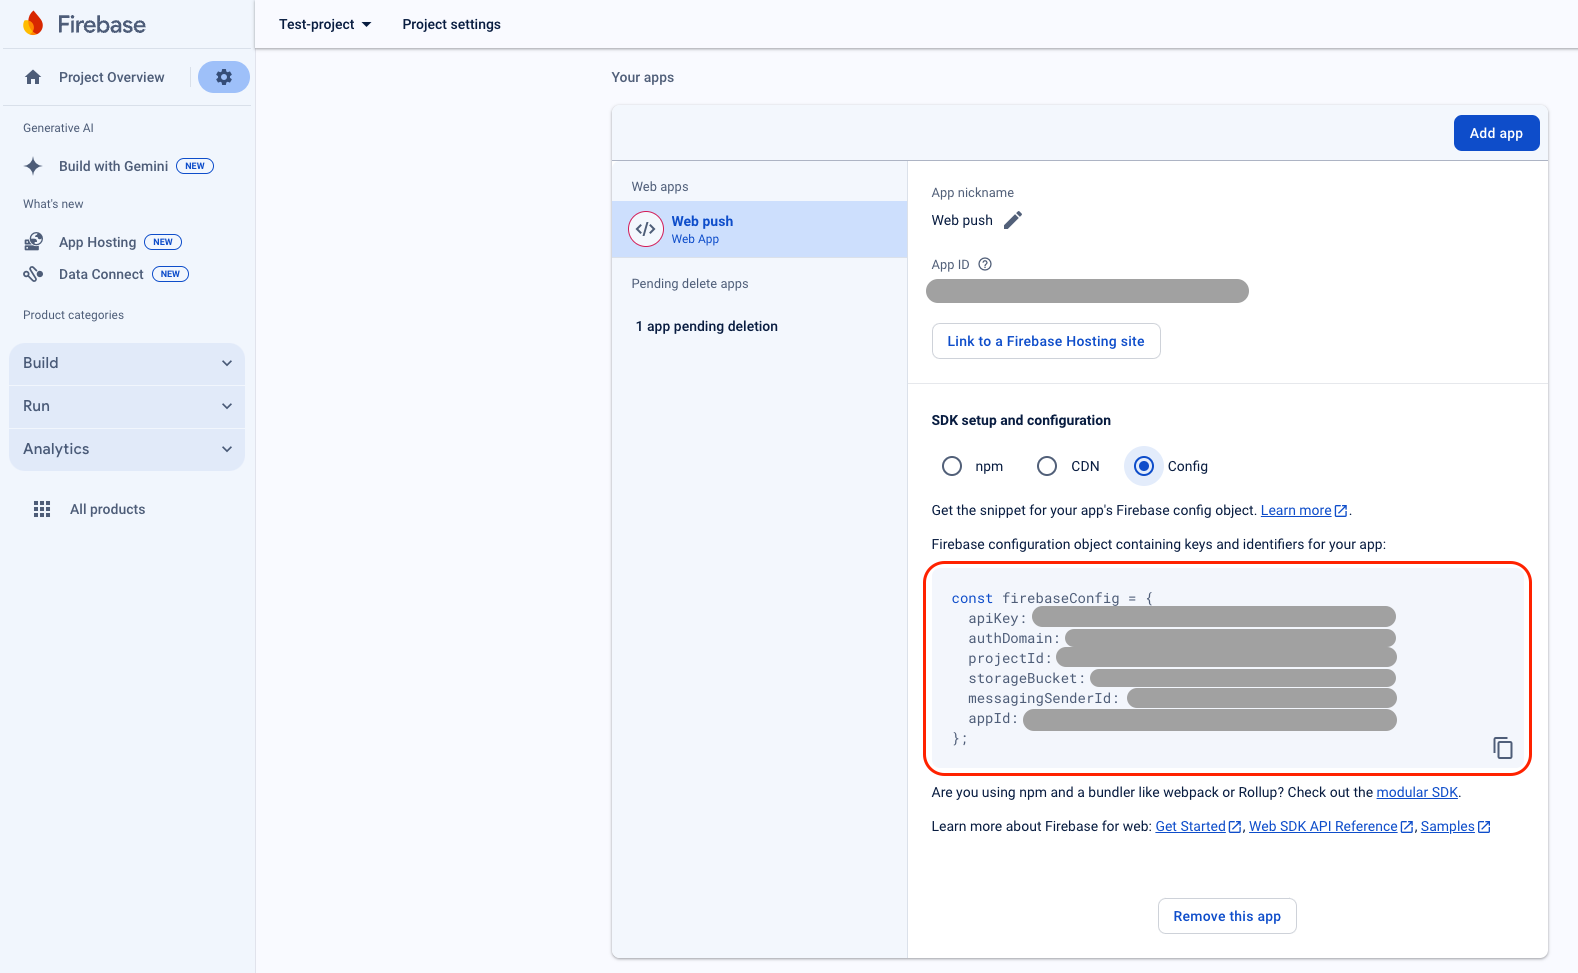
In the Project settings, go to the General tab. The created application will appear in the Your apps (Web apps) section.
Copy its SDK configuration (SDK setup and configuration → Config).
5**. Configure site push notifications settings in Maestra**
In Maestra, navigate to Integration settings > "Your Site" Integration > Site push notifications settings > Enable Firebase.
"In the Site push Notification settings:
- Project settings — upload the JSON file with the private key that was generated in step 2.
- App settings — paste the app configuration that you copied in step 4.
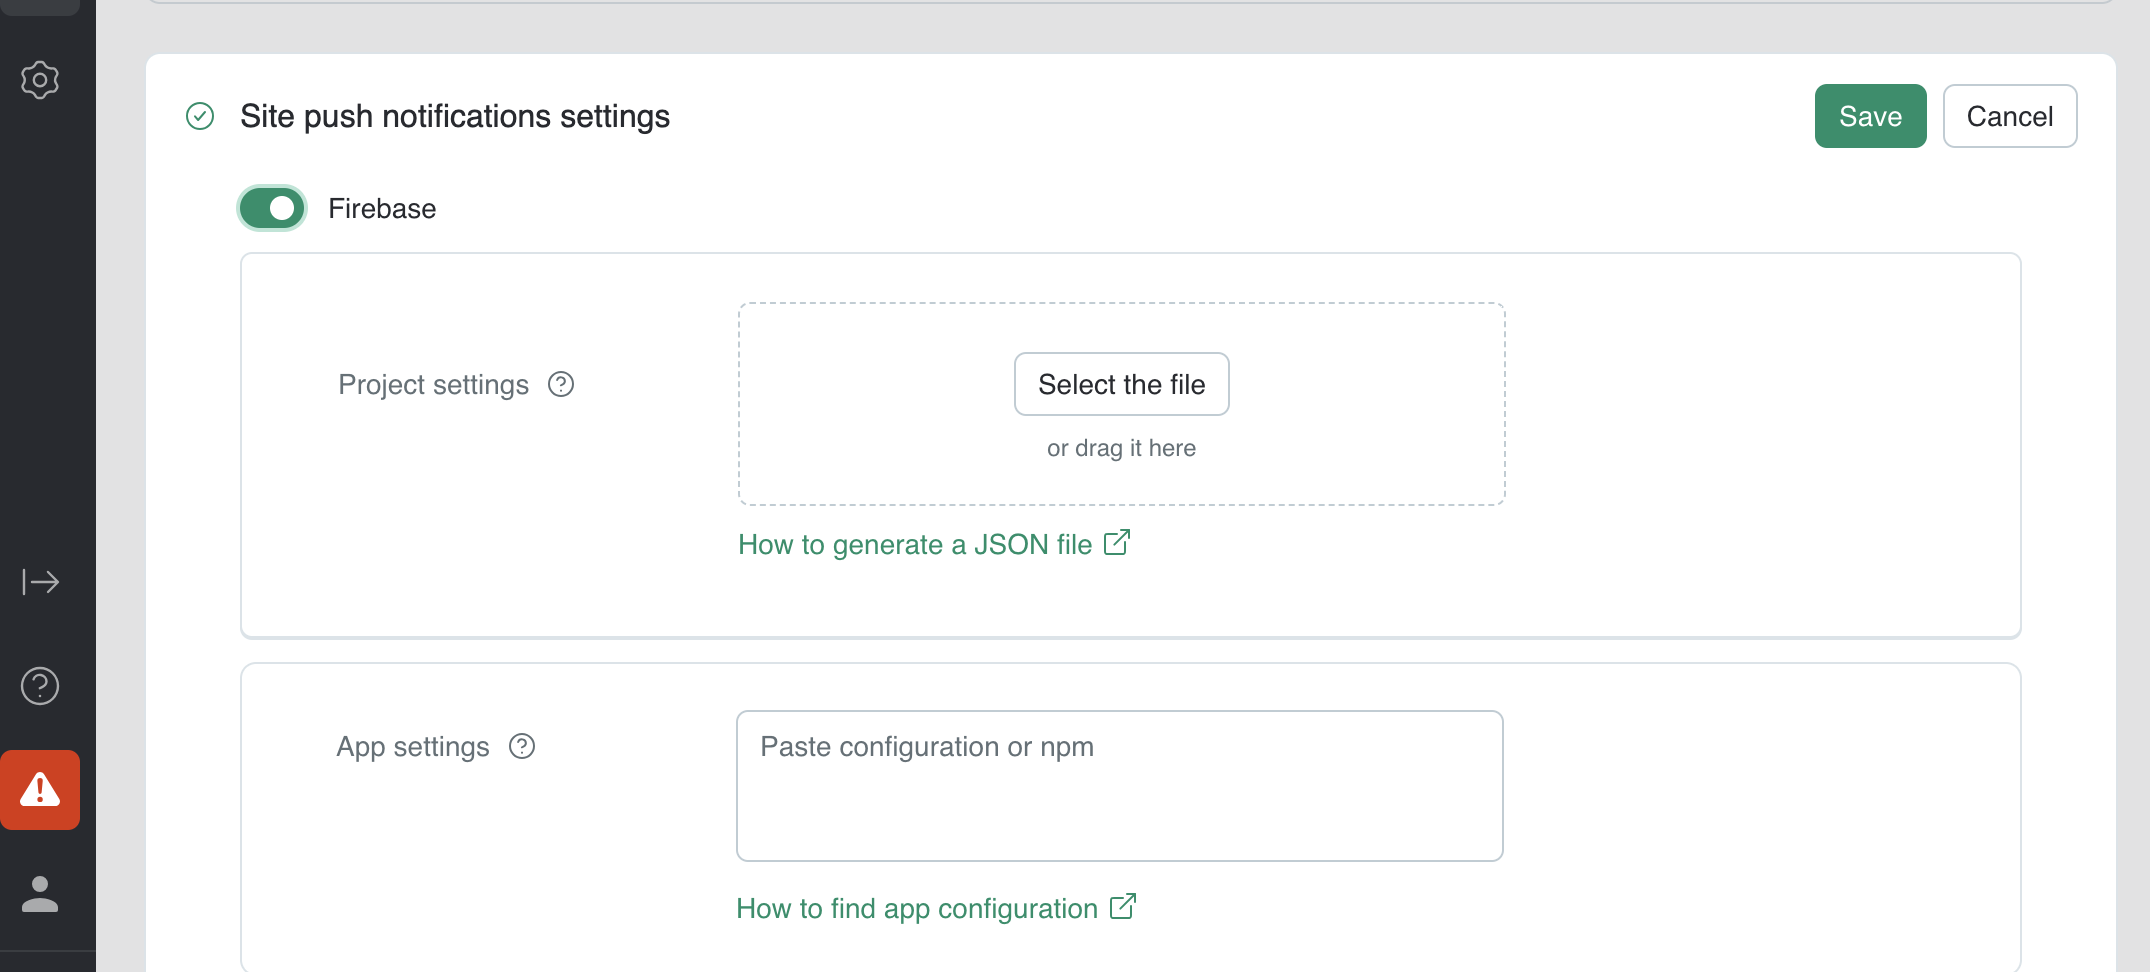
If the upload is successful, you will then see the loaded integration settings in the block.
Click Save in the right corner of the block with settings.
*Click "Save changes" in the top right corner of the page**. It may take a while for the integration settings to become updated.
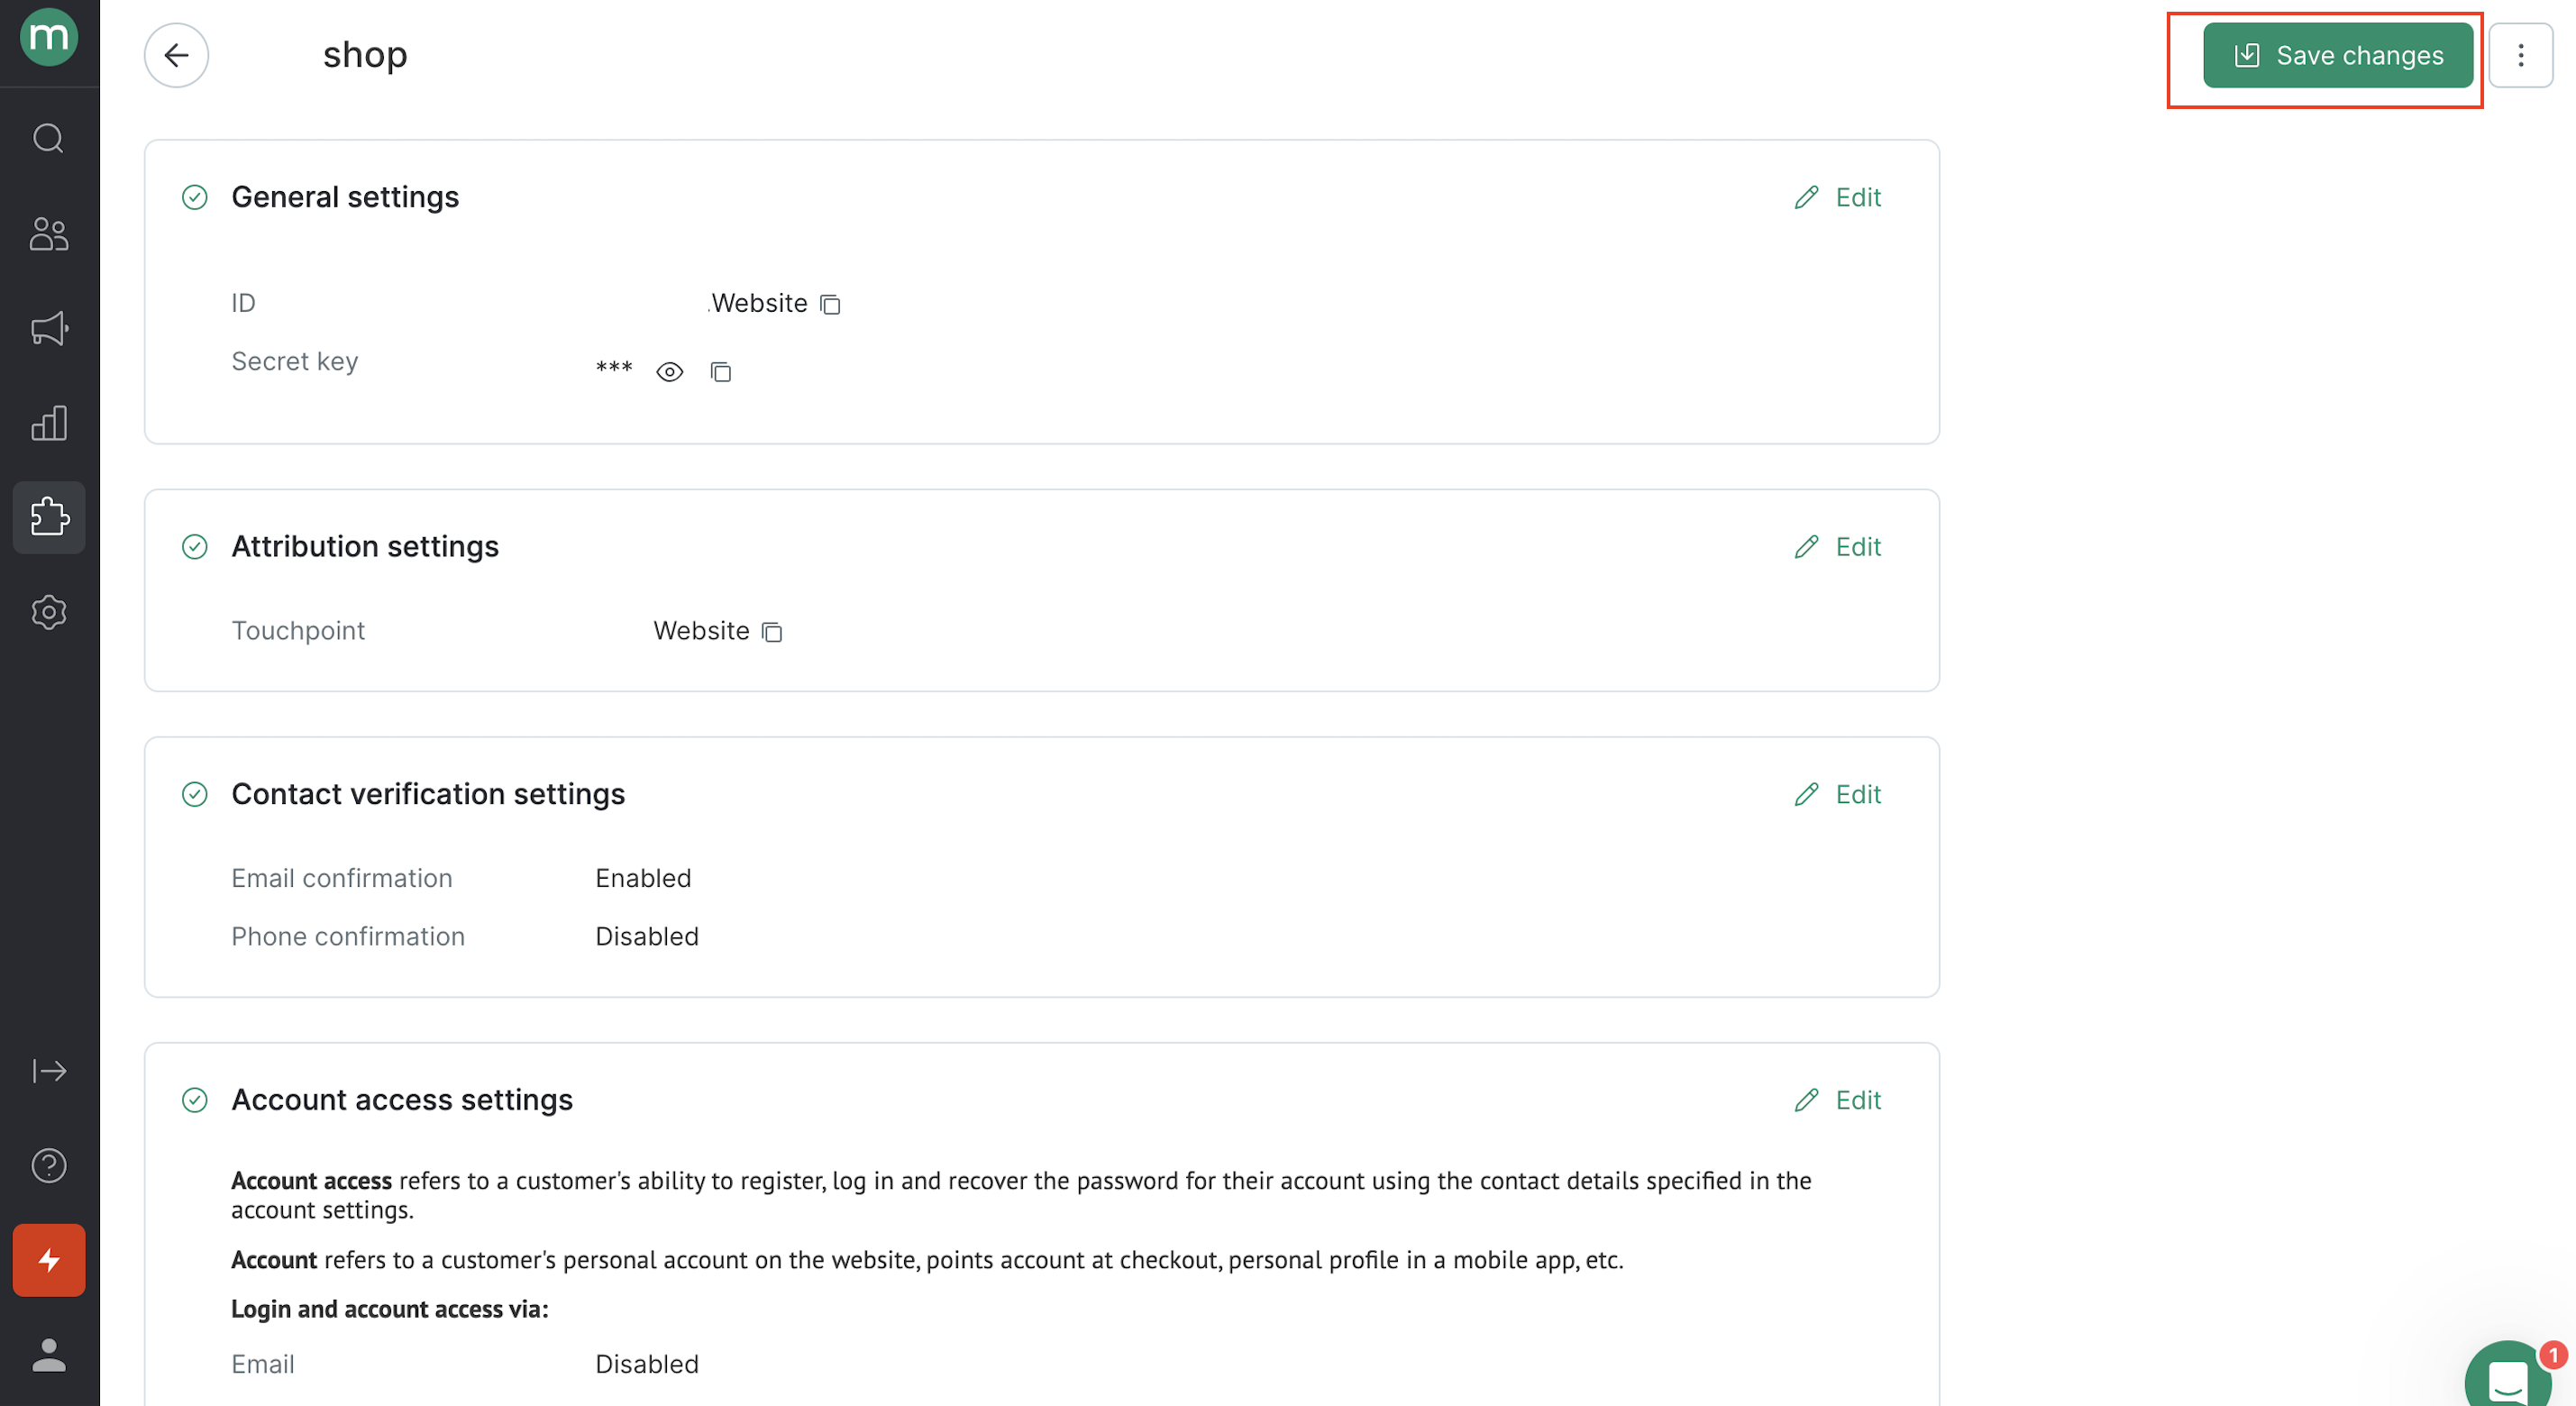
Once the Private key and Config are uploaded and the settings are saved, the configuration is complete.
After refreshing the page and reopening the settings block, you will see all the completed fields.
Updated over 1 year ago